Teriyaki Salmon

Q. What can you do when you want to cook Teriyaki Salmon but the only Teriyaki sauce available is a thick sugar laden marinade?

A. Make it yourself!

So I made the most fantastic Teriyaki sauce that I use to cook salmon fillets on the stovetop. This cooking sauce was so good I actually said 'this is the best salmon I have ever had'.

I don't always measure ingredients. Work with me...

1. a good pour of Mirin (Sweet cooking Rice Wine);
2. the same quantity of sake (or cooking sake which is what I had);
3. the same quantity of soy sauce;
4. the same quantity of hot water; and
5. about a tablespoon of honey

Mix it all together.

To coat your salmon fillet: leave the fillet(s) in the plastic bag. Open the bag. Sprinkle into the bag some freshly ground pepper, a pinch of Murray River Pink Salt and about two tablespoons of plain flour. Fill the bag with air and give the top a twist until it is sealed. Now shake the air filled bag (like a lunatic) for about 10 seconds until all the fillets are completely coated. No mess, no fuss.

In your medium temp heated frypan, splash some olive oil to get it started. Place the salmon fillet skin side down. Pour into the frypan half your homemade Teriyaki sauce and let it gently simmer. Move the fillet about so it doesn't stick to the pan. After about two minutes flip the fillet and pour the rest of the sauce into the pan. Progressively turn the fillet over onto each of the four sides. If the sauce becomes sticky or dry, add a little hot water which will re-create your initial sauce.

When it looks cooked, eat it.

Reports please people...

Stay well, stay safe.

Enjoy and develop your cooking skills over this time. Every cloud has a silver lining...

Kindest regards,
Brendan Blake

Teriyaki sauce - made at home!

Teriyaki sauce - made at home!

Oakwood Cheese Krankys - product review

Oakwood Free Range Berkshire Pork Cheese Kranskys

For those of you that have not yet discovered the Oakwood Smallgoods smokehouse at The Mill on Walker St, Castlemaine, I strongly urge you to use this venue as an excuse to break your self isolation and legally go to buy some food.

I write a brief review of the Free Range Berkshire Pork Cheese Kranskys here, but the bigger picture is the production house where all the goods are made in the old traditional german style. Ralf smokes his range of delicacies in a real smoke house. The flavours are unique, the process is clean and traditional and the result is as expected.

We offer a relatively small range (although large) of Oakwood's products at the supermarket, but the range Ralf offers at his Charcuterie is extensive. Just the aroma of the products as you walk in the door is enough to bring out your adventurous spirit and sample meats you may have never tried before.

My search for local suppliers has revealed some gems in Castlemaine and Ballarat. Supermarkets are generally boring. My task in life is to make your supermarket experience a whole lot better. Maxi's wonderful staff are my greatest support.

We are fortunate to be one of Oakwood's local re-sellers.

OK. Cheese Kranskys. I'll keep it brief:

I usually cook them on an open flamed barbecue, but given the climate I know you will forgive me for cooking them inside on the stove. I used a ribbed cast iron pan so the authentic stripes formed on each sausage.

It is of course appropriate that given the weather, this is the type of food that would ordinarily be consumed be on a wintery European day with snow building up on the window sills and a chilly arctic breeze forcing its way under the door.

So my review is exactly that. Once you bite into these beauties, the flavour, whilst I have never been there, makes you feel as though you are in a German Village in the Black Forest. Quite a unique experience indeed.

Close your eyes and sip another schnapps! If you have a pair of lederhosen, wear them.

The coveted Pork Belly

Inspired by the range of Mother’s Day roasts the butchers created last week, I thought I should cook a pork belly because I have not cooked one for some time and it tastes very good.

I researched a couple of recipes and created a hybrid of two, which I probably should not have done, but it worked out well.

The rind was already scored by the butchers so my first task was to place it on a wire rack and pour boiling hot water over the rind. This opens the score lines, into which I rubbed olive oil and loads of Murray River Pink salt.

The oven was preheated to 240c. I cooked the belly on the wire rack in a baking dish, with a little water in the dish for tenderness, uncovered for 50 mins at 240c and then turned down the heat to 160c for a further 25 mins. I rested it for 10 mins and sliced it to serve. Easy!

The rind crackled a bit. Had I not placed water into the base of the pan to ensure its tenderness it would have crackled more but it was still good (and moist!).

The vegetables were largely chopped Pontiac potato, sweet potato, skin on carrot, two shallots and for a bit of colour I added some broccoli. All tossed in olive oil. I placed the veggies in the oven with the belly and removed them at the 50 minute mark. They were deliciously soft. The broccoli, which I had never roasted before, shrunk in size and burnt a little but was really tasty.

The Brussels sprouts were done as usual, in oil and butter in a hot frypan on the stovetop.

Don’t fear the pork belly. It is possible to achieve this meal with little cooking experience.

IMG_2535.jpg
IMG_2530.jpg

Traditional cloth wrapped Plum Pudding

Why do we have to eat wintery foods in summer at Christmas time?  We are not in Europe and the snow is not falling.  July seems to be the best time to enjoy these delights, so given the time to prepare, I thought I’d make a traditional plum pudding, or two, to eat in July when it is very much required!    

Now, this is not a challenge to you excellent food makers, but people have been asking me for meals and dessert ideas, so why not challenge yourselves!  I found making these puddings very easy.  I had not made one before.

I created a hybrid of two recipes, one from Australia, the other from the UK.  For those who are interested, the two recipes I chose are listed here.

https://bakingwithgab.com/2013/12/20/christmas-and-pudding/

http://www.paulcouchman.co.uk/how-to-make-a-traditional-christmas-pudding-in-a-pudding-cloth/

My ingredients were:

450g raisins

450g currants

200g sultanas

300g shredded apples

50g glace cherries

250ml St Remy brandy

450g butter

500g brown sugar

8 eggs

350g plain flour

1 tsp nutmeg

1 tsp mace (I’ll deal with Mace in a separate post)

1 tsp mixed spice (heaped!)

50g chopped almonds

250g breadcrumbs

¼ tsp bi-carb of soda

Pinch of salt

For two days I soaked the raisins, sultanas, currants, mixed peel and chopped almonds in brandy.  I left the bowl on the bench, covered with clear film.

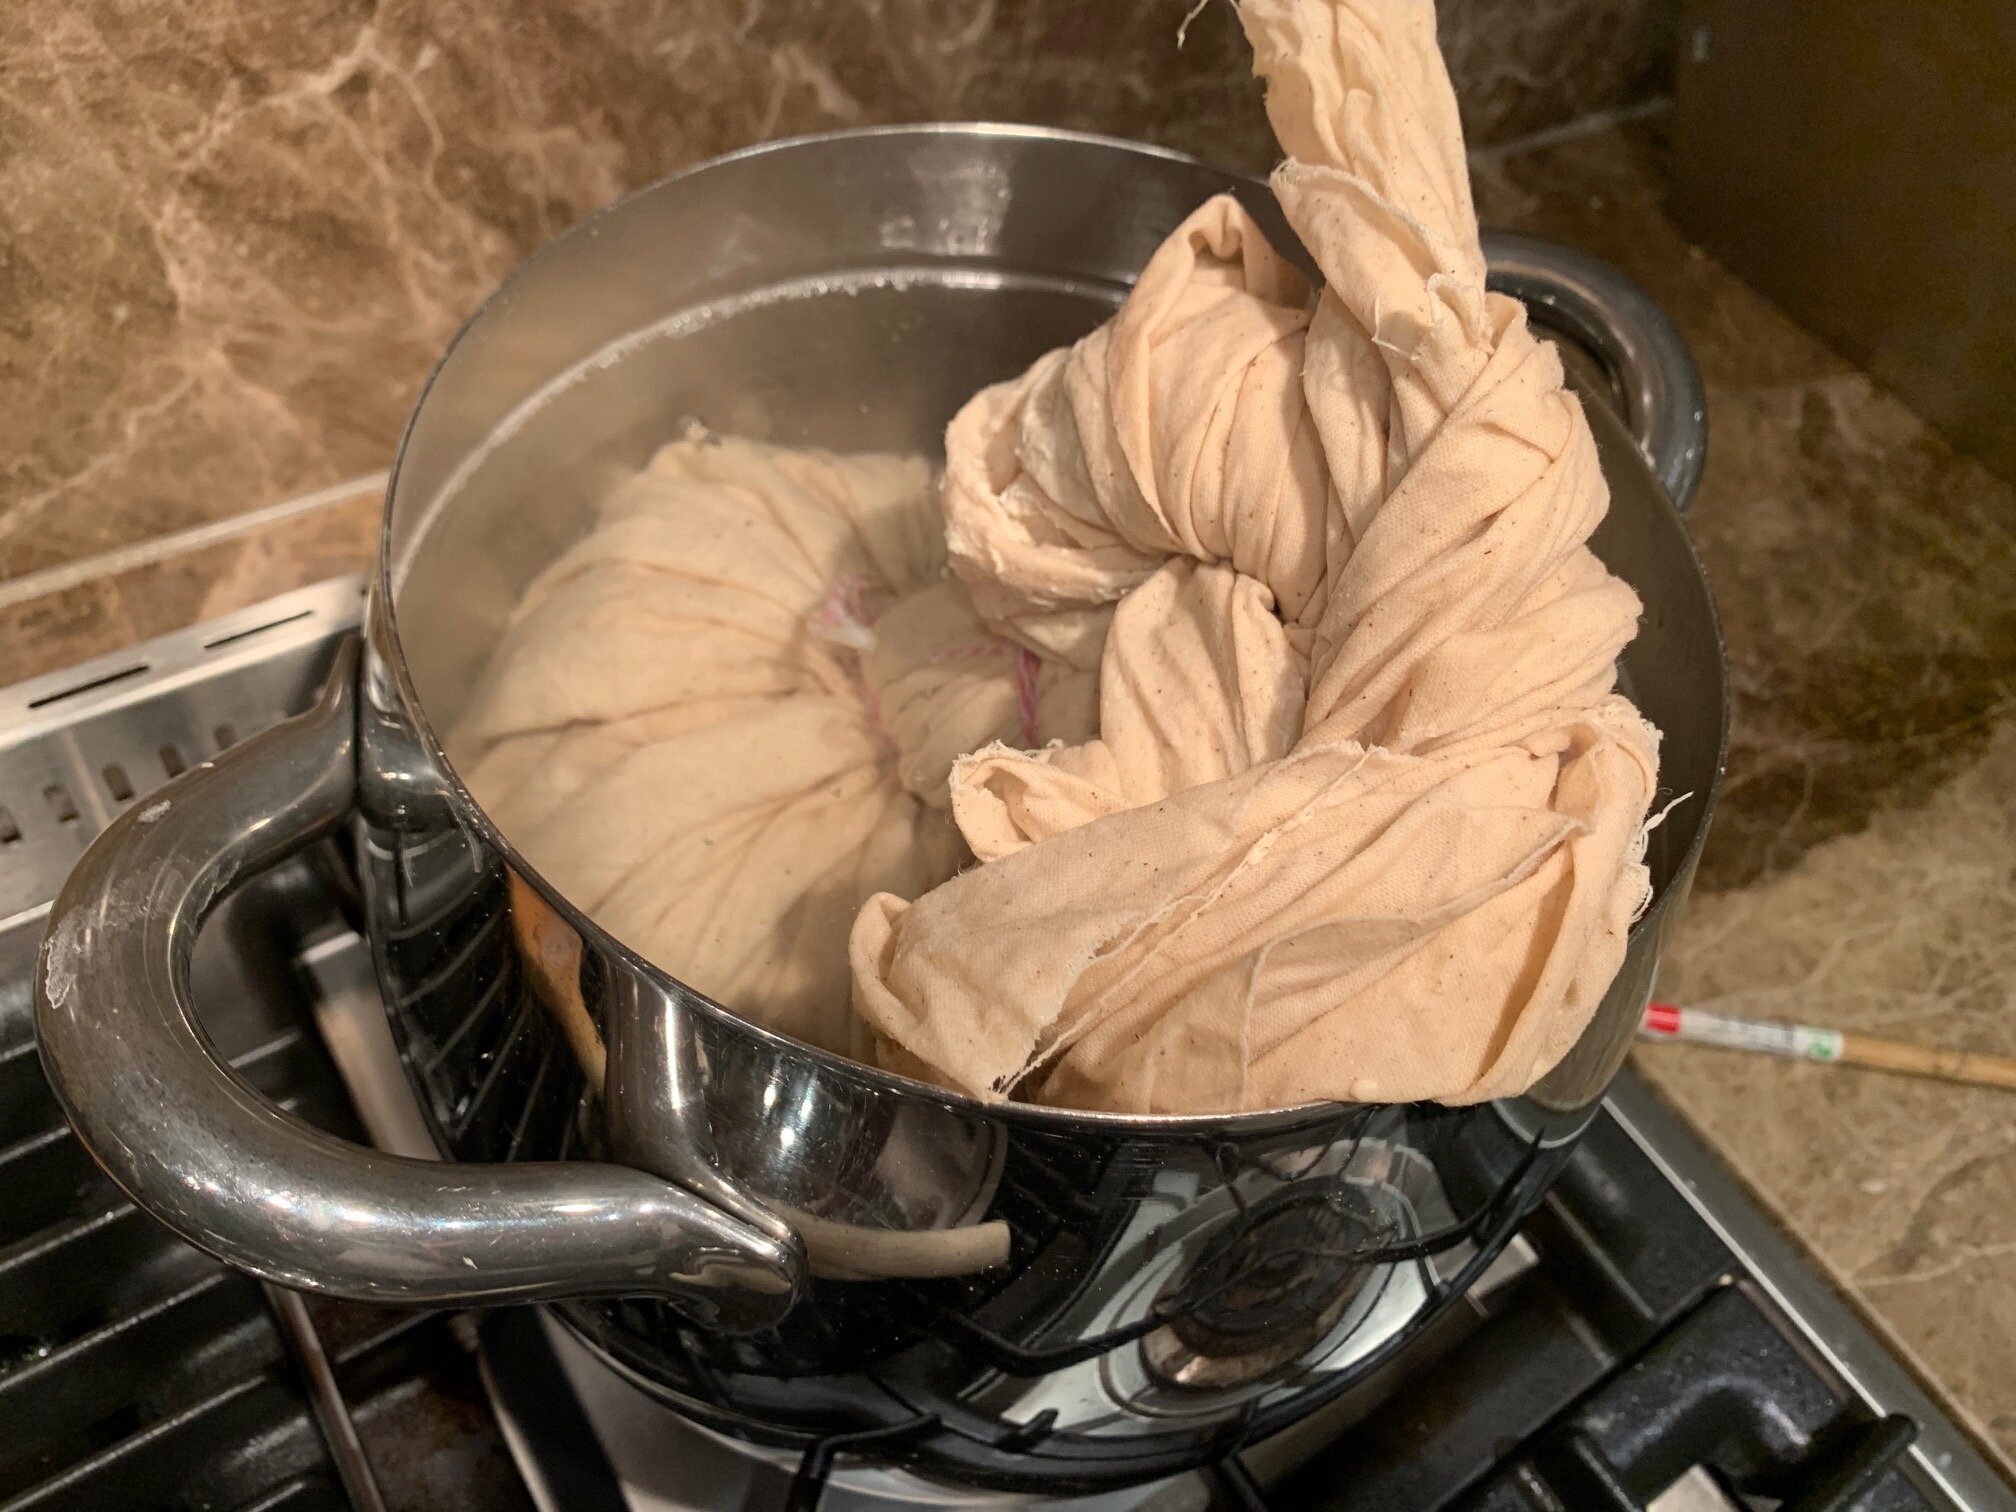
Before I started to assemble the pud, I cut and boiled two lengths of calico.  Calico is in abundance at Spotlight.  A roll costs about $10.00 and it can make a lot of puds. The calico needs to boil for 20 mins in water to sanitise it and encourage the fibres to swell.  It was ready to come off the stove when the mix was ready to be put into the calico.  Once the calico is wrung out, which is a memorable task due to its intense heat, it needs to be laid over the sizing bowl and dusted with flour.  The flour absorbs into the fibres and seals the calico.  This stops the brandy from escaping!  

As I assembled all the ingredients, I mixed the butter with the sugar in the mixer.  I beat 8 eggs separately and left them in a bowl, I measured my bread crumbs and flour then added the nutmeg, mace, mixed spice, bi carb and salt into the flour bowl.

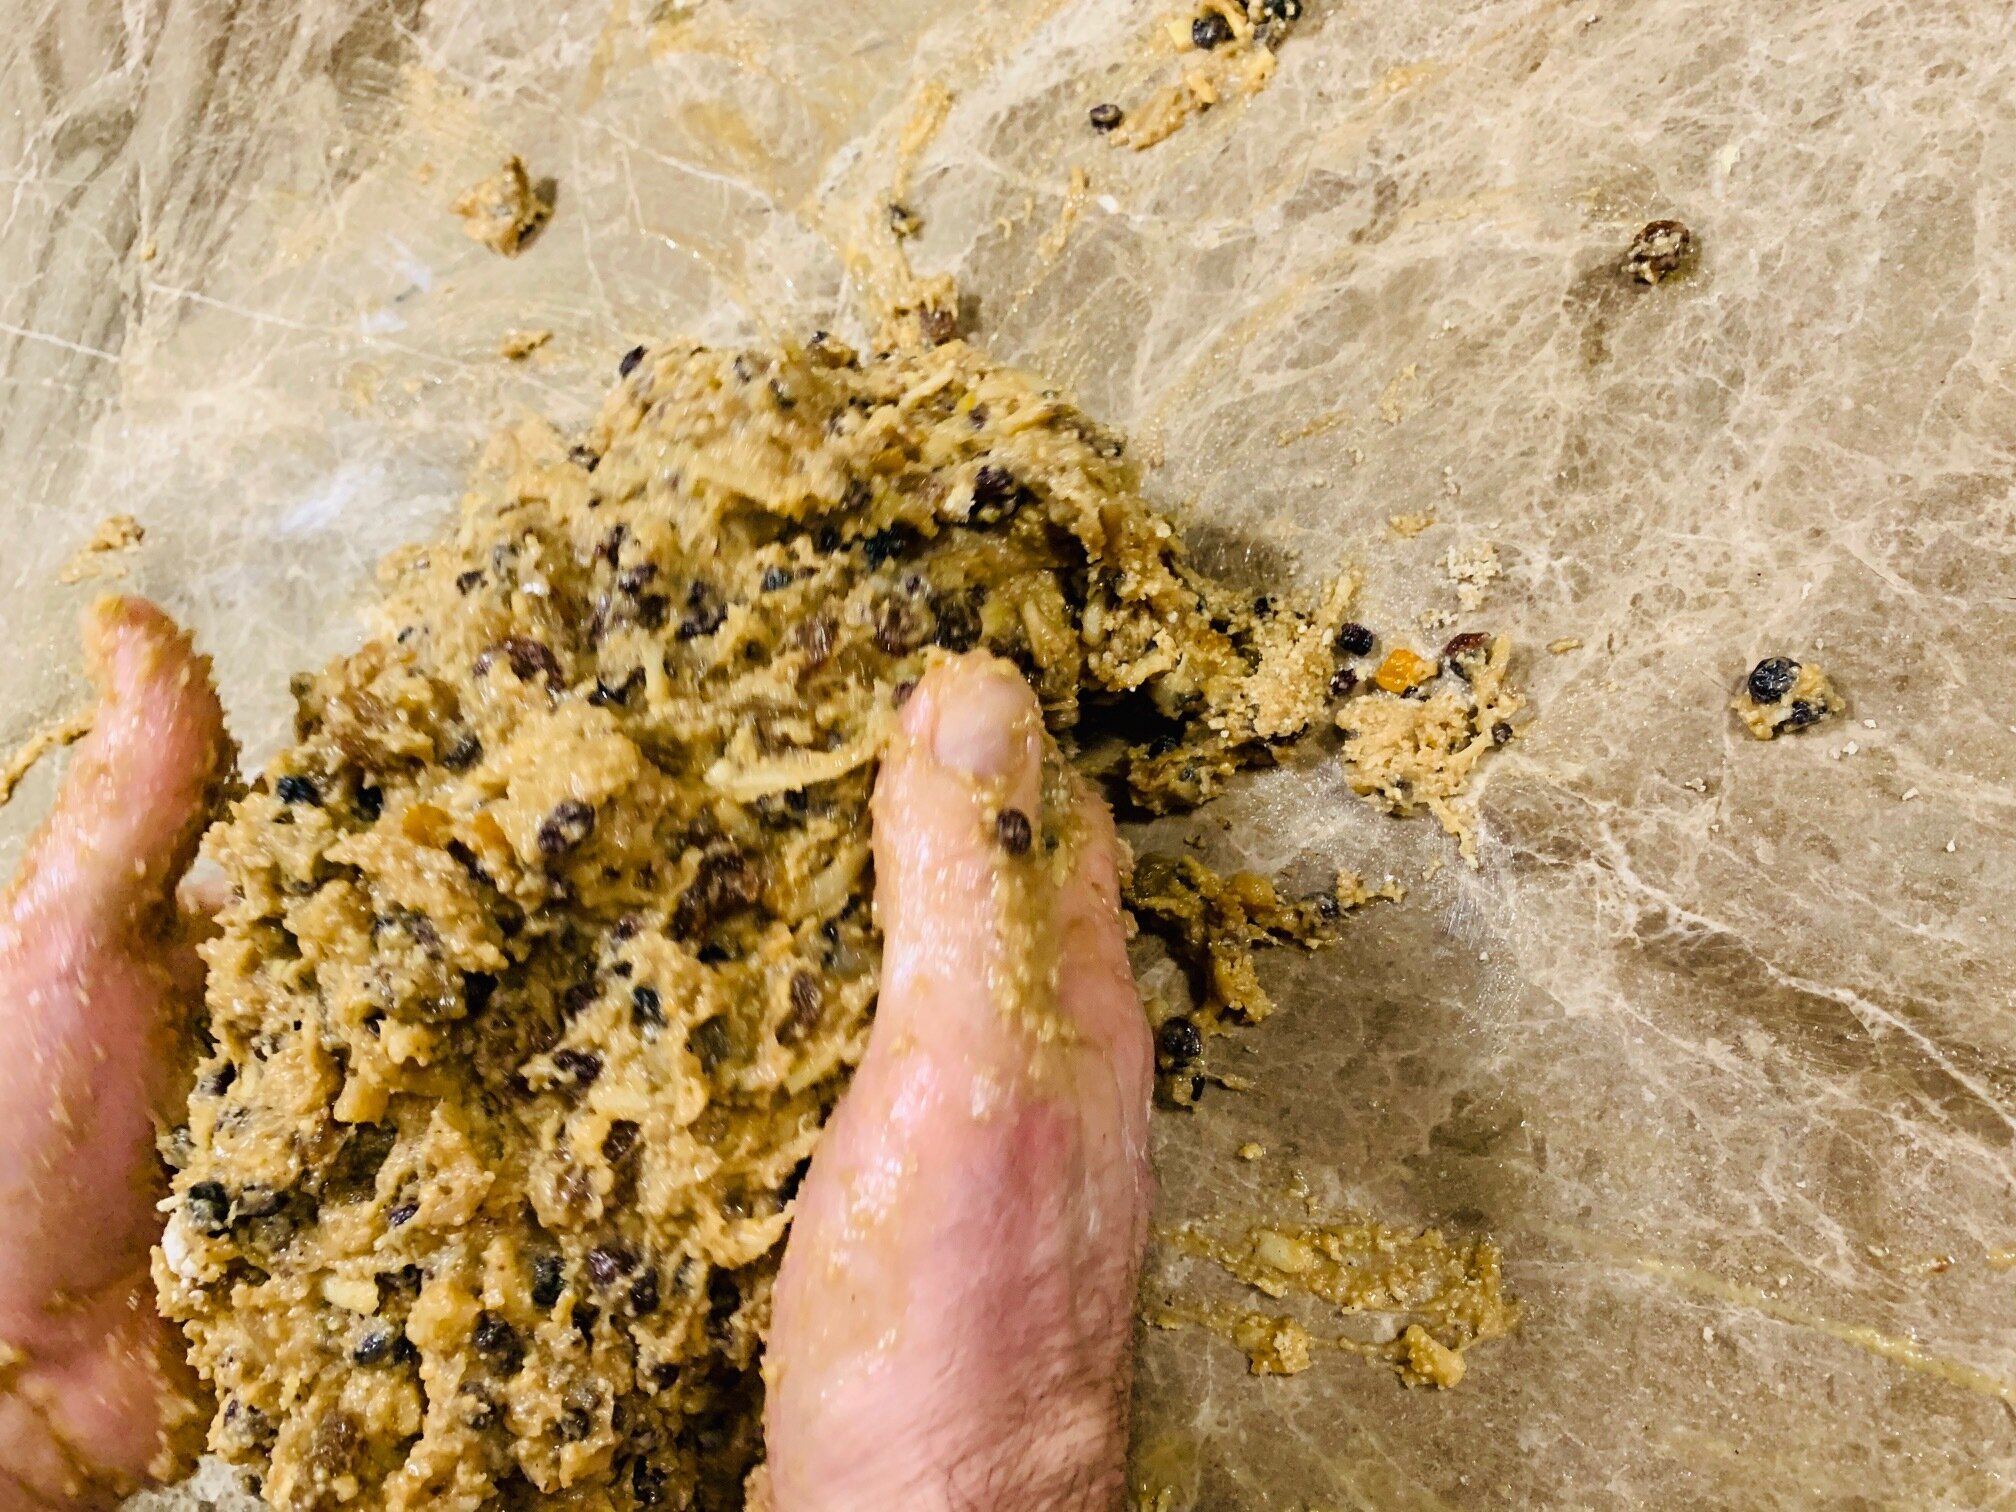
I tipped the lot onto the bench and blended it all by hand! Who needs a bowl when you have bench? I separated my mass of uncooked pudding into two separate bowls and cleaned the bench.  Calico time:

The calico was laid over the bowl, dusted with plain flour, mixture inserted and then tied twice with cotton string.

I then put them both into boiling water where they currently sit and will remain for 3.5 hours.  Once the water boils, the heat can be turned down to very low and the water will continue to boil, making the energy cost relatively low.  It requires a top up of hot water from the kettle every hour or so.

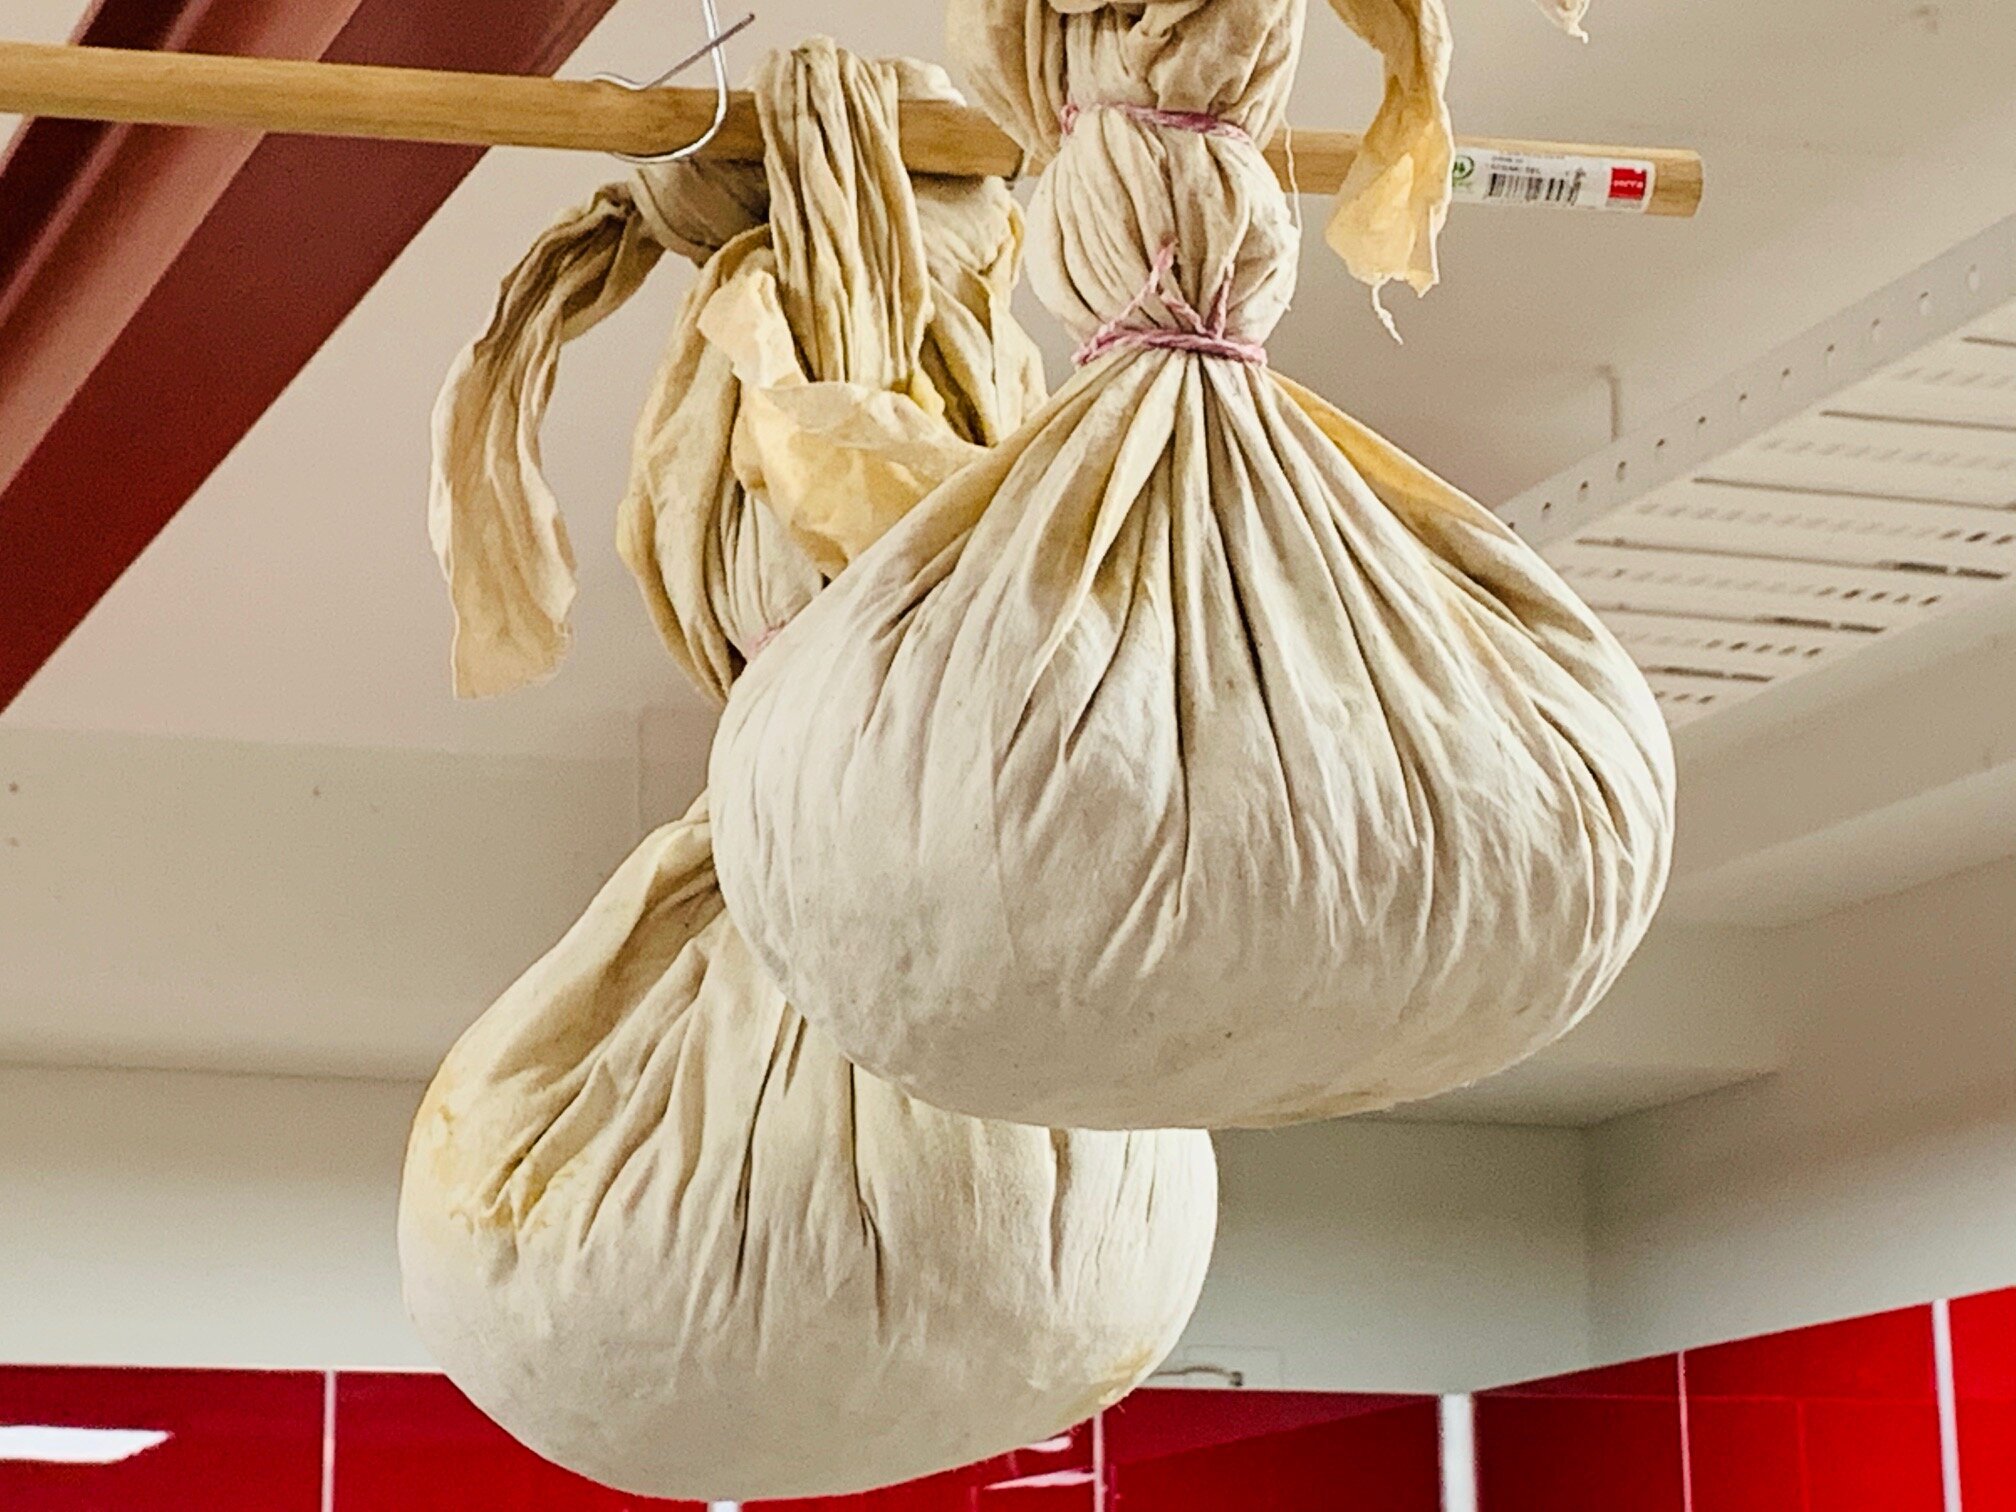
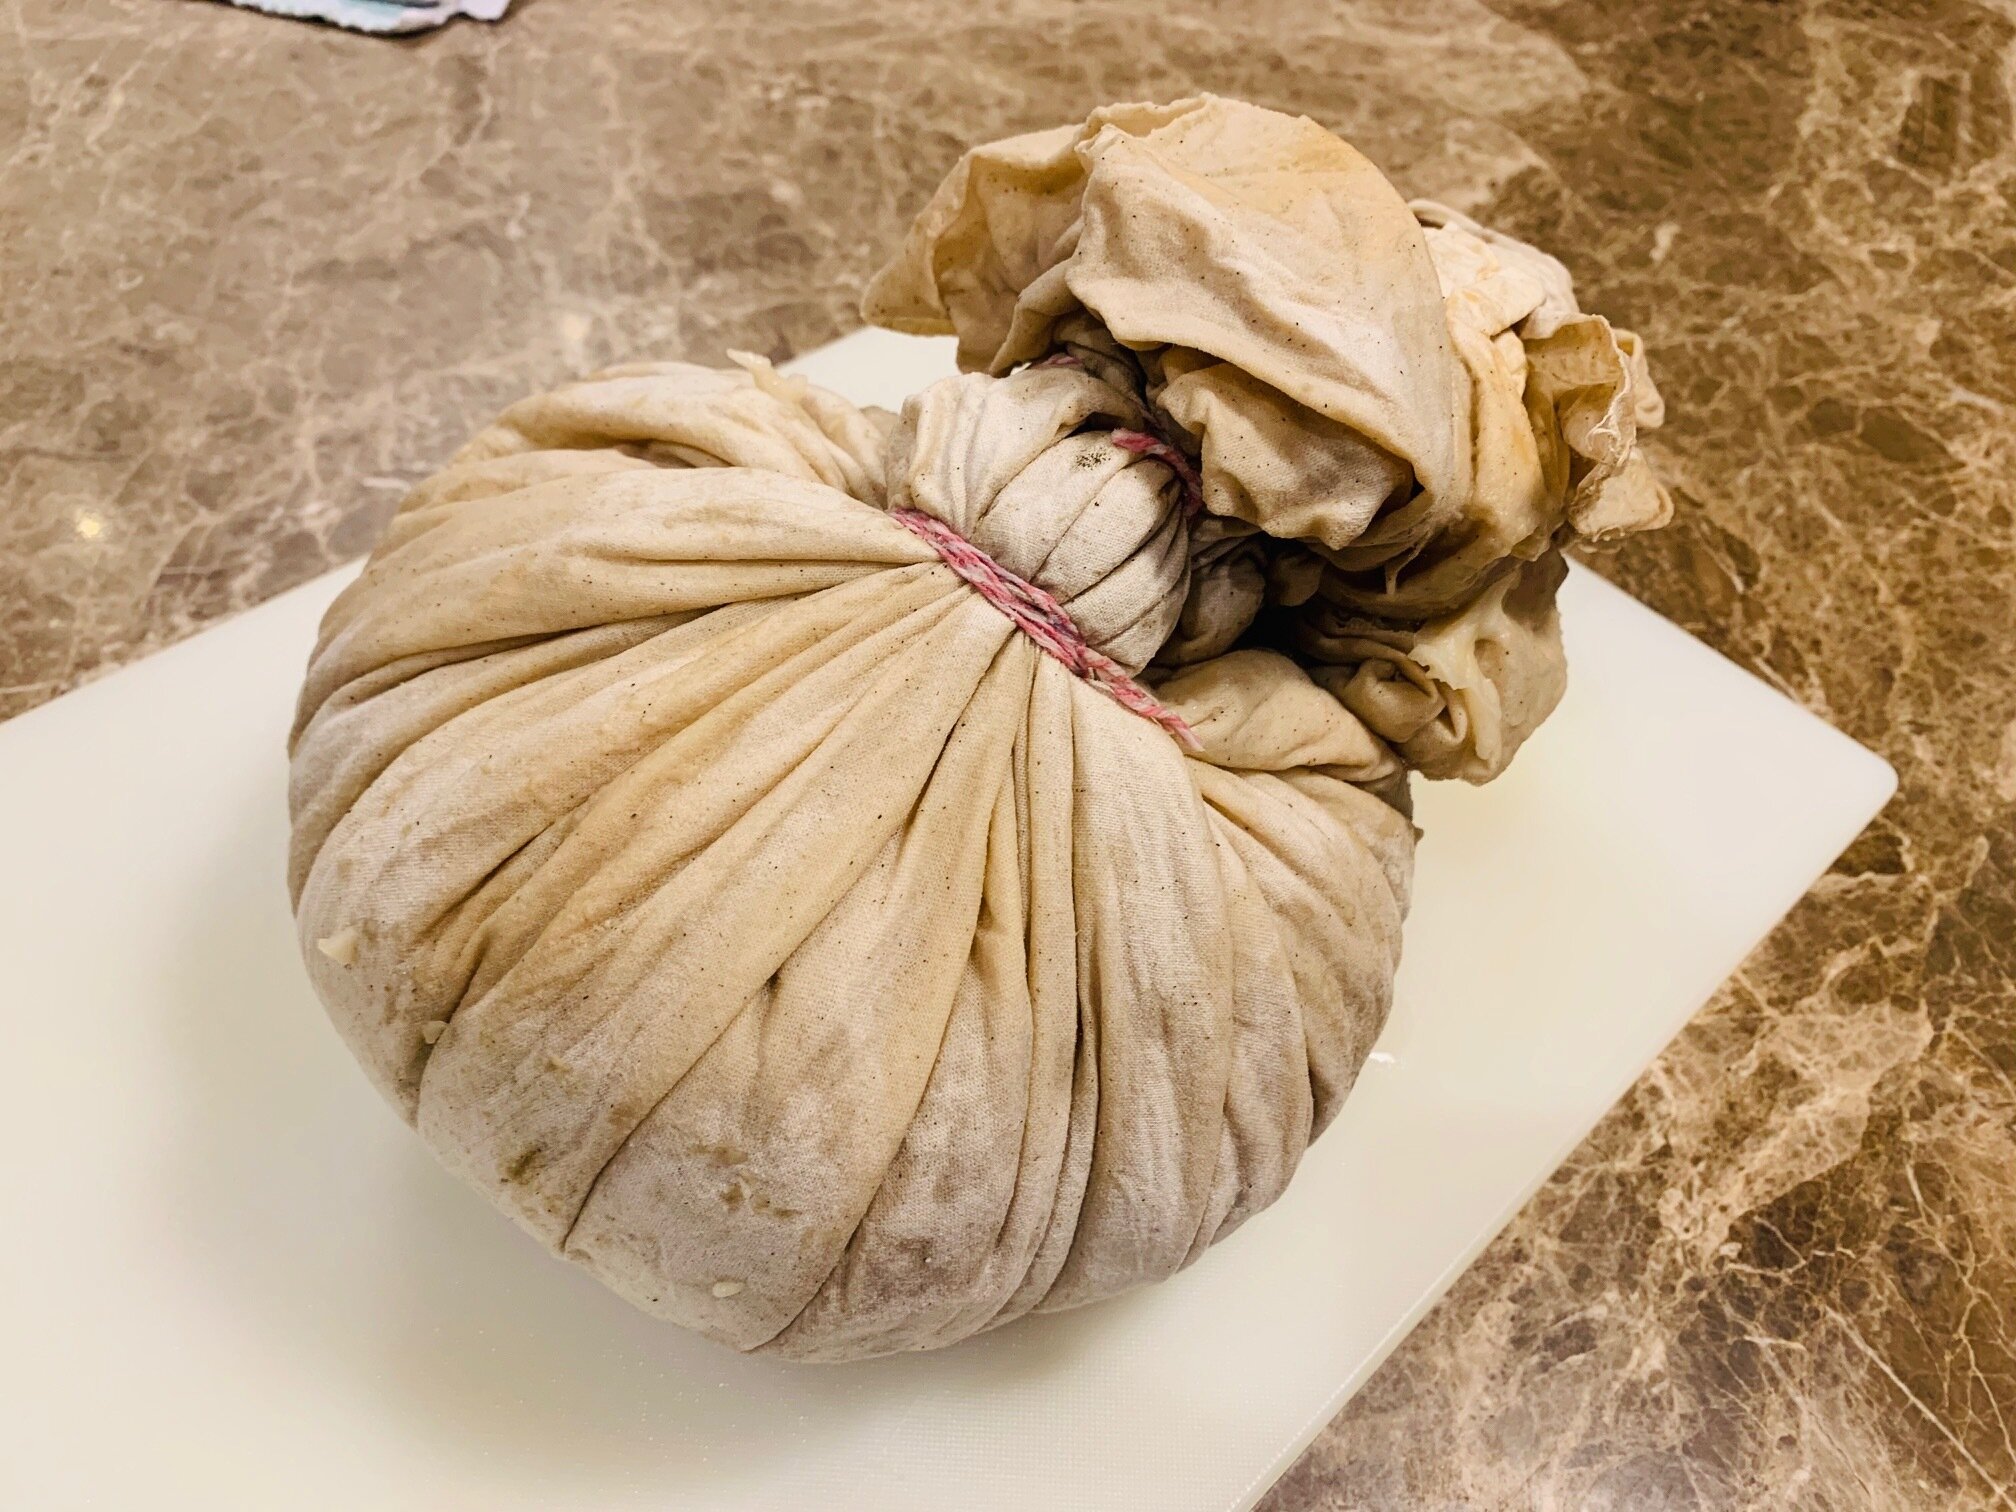
After 3.5 hours of boiling, I removed them from the stove and hung them in a ventilated outdoor area (garage) where they will remain for about 2 months.   

Christmas Day

In the morning of the day they are to be consumed, remove your pudding from it’s resting place, boil in water (in the sealed cloth) for three hours. Remove it from the water, allow it to drip dry for a few minutes and then put it aside to cool. It needs time to reach room temperature, probably about two hours. Don’t open the cloth until it has cooled to room temperature. To remove the cloth, cut the wrapped seal and gently peel the cloth away from your pudding, ensuring nothing breaks off. Place it, inverted, onto a serving plate. It is now ready to serve.

You need to prepare the standard whipped cream or custard (or both), but you will have ample time to prepare these sweet condiments whilst the pudding is settling.

To light the pudding with brandy, this is what you do: using a metal soup ladle, place a generous quantity of brandy into the ladle. Do not fill it to the top. Light a flame, preferably the stove top flame and gently warm the brandy in the ladle over the flame. After about ten seconds, simply tilt the ladle and the brandy will ignite!

Pour the flaming brandy over the pudding. If your guests thought it was a spectacular sight and they want to see it again, simply collect the brandy from the pudding plate and do it again. The brandy will ignite multiple times!

Enjoy!


How to cook Brussels Sprouts

Cut the sprouts in half (long ways) heat up your fry pan and place a slab of butter and a good pour of olive oil, for Vegan, hold the butter (if you have some!). Pan fry hot and quick until the sprouts a slightly charred, but retain their bright green colour. Add some cracked paper and Murray River Pink salt.

They are ready to eat. They are hot and crunchy and delicious!

Bull Horn Peppers

They only look like bull horns. They are genuine vegetables.

Place them straight onto a high naked flame on the stove or barbecue. Using tongs, turn them over every couple of minutes. They will blister and then turn black. Once they are black remove them from the flame, place them on a board and remove the charred skin with a butter knife. The skin will peel or scrape off easily.

You can add salt and pepper or olive oil, but without any other additions, they are good to go as they are.

Tomato and Basil soup

Tomato and Basil Soup (Veg and Vegan)

This can be served chunky or as a thin soup simply by placing it into the blender or using a hand held Bamix blender in the pot. I served it chunky!

The redder your tomatoes, the redder the soup will be. We are not going to fry the onion, so there are no fats to add to this soup.

Cut your tomatoes in half and squeeze out the centre. We are not going to use the centres or seeds. Throw your squeezed tomatoes into the saucepan with your finely diced onion with a couple of cups of water and let them reduce. Allow it to boil then turn it down to simmer, covered, with a very low heat.

In the meantime, chop your fresh basil, spring onion, garlic and Continental parsley. Once the tomatoes have started to soften and reduce, into your saucepan goes the rest with another two cups of water. At this time you can determine the thickness of the soup by varying your water quantity.

The other ingredients all merge in nicely.

Now, add a good pinch of Murray River Pink salt, some freshly ground pepper to taste, a tsp of Massel powdered chicken stock and a couple of good tablespoons of Leggo's tomato paste.

Let it simmer for about an hour. Serve it chunky or blend it for a puree version.

Serve with crusty fresh bread.

Very basilly!

Onion and Bacon quiche. No pastry!

So tonight I made an onion and bacon quiche. No pastry!

The circular onion slices and bacon were pan fried in olive oil. Meanwhile I mixed 8 eggs, 300ml of Bulla cream, added freshly chopped parsley, a sprinkle salt and pepper. I whisked it until it was aerated. I placed the onion rings and bacon on the base of a baking dish, poured the mixture on top and placed it into a hot oven at 220 C and watched it double in height. It was ready in about 20 mins.

Whilst it was cooking I sliced a sweet potato and a Pontiac potato into chips and deep fried them in a shallow saucepan of olive oil.

I cleaned and sliced two baby cos lettuces, added olive oil and salt for dressing and served it all up. Preparation time to eating...about 30 mins.

Too easy.

Good eating! 

Chicken Schnitzels

Tonight I made real Chicken Schnitzels. Everybody's favourite!

You can easily slice four chicken schnitzels from each chicken breast. Tenderise the slices lightly with a tenderising hammer and put the schnitzels aside. In mixing bowl mix two cups of bread crumbs, a small handful of freshly chopped continental parsley, half a cup of freshly grated Grana Padano parmesan cheese, a sprinkle of Massel chicken stock powder, grated lemon rind and pepper and salt.

Heat your shallow pan on medium heat without adding oil at this stage. Coat your fillets with plain flour then coat them with a mixture of a beaten egg with a dash of water (to thin it a little). Coat the fillet in the bread crumb mixture. Now add olive oil to your heated fry pan and let it get hot.

Lightly pan fry them until golden in colour and then flip them to fry the other side.

Delicious! Easy! Memorable!

Total time: about 20 mins.

Vegan Paella

By request I made a Vegan Paella tonight.

It was not a traditional Paella, but it was just as good! Over medium heat, in a deep frypan, brown a diced onion in olive oil. When browned, add two cups of arborio rice, this is a firmer and larger grain rice which is traditionally used in paella and Italian risotto.

Once the rice has absorbed the oil and the flavours in the pan add a cup of hot water which has been mixed with a teaspoon of Tumeric Powder and a teaspoon of Massel Vegetable stock or Vegeta. Add the raw kernels of one cob of corn, half a sliced red capsicum and freshly chopped continental (or flat leaf) parsley.

I was supposed to add green peas but I forgot to buy some! As the water is absorbed into the rice you will need to continue to add more. Add hot water in one cup increments until the paella rice is soft.

Add salt and freshly ground pepper of course. Lift and toss it as it cooks. Serve it in the pan.

Very easy to make.

Delicious!

Everyone loves Pizza

The base is the most important thing.

Preheat the oven to 230C. "00" type flour (very important) measure 440gms of flour. Add two teaspoons of Lowan dry yeast, a teaspoon of salt, a tablespoon of olive oil and 310ml warm water. Mix in a bowl using a wooden spoon. Once mixed, tip the dough onto the bench and knead until smooth!

Place the dough into a bowl lightly covered in olive oil and cover with clear film. Place into a warm place and let it rest for 30 mins whilst it doubles in size. If the added water is too hot or too cold the dough will not rise.

Once risen, punch the dough, knead it again for two mins and cut it into four equal portions. Roll each portion into a ball and press the base out with your fingers. Flip the dough several times and keep pressing until your base is thinly stretched, the right size and full of 'finger marks' to hold the sauce!

The tomato base is a 50/50 mix of 'Pomodoro Passato' (puree) and Leggo's tomato paste. Spread evenly leaving a 10mm edge.

The pizza mix cheese goes on next. Cheese placed below your ingredients will melt. Cheese on top of your ingredients will harden.

Add your favourite toppings, lightly pour a good coating of olive oil, add a pinch of salt and cook for about 10 mins or until the edges start to brown.

Easy! Delicious!

CWA (Country Women's Association) Italian Stew

I found this recipe about a decade ago and I have prepared it at least 100 times.

Man cannot explain why this tastes so good!

In a large pot fry four cut bacon rashers in 50gms of butter. Once cooked, remove from the heat and put aside. Then brown eight BBQ lamb chops in the same saucepan. Remove from heat. Into the same saucepan add four peeled and diced Pontiac potatoes, three quartered tomatoes, three quartered onions then add the cooked bacon pieces, add the browned lamb, a good hand full of freshly chopped flat leaf parsley, two teaspoons of Massel chicken stock, five cups of water, coarsely ground black pepper and of course salt (Murray River Pink has been my favourite salt for years).

Cover and bring to the boil, then turn the flame/heat down to the lowest possible setting and leave to simmer for three hours. Allow to cool and refrigerate the stew in the pot.

The next day remove the settled layer of butter and the meal is virtually fat free. Gently heat it in the stove and eat it!

Full credit goes to the CWA for this incredible dish. Brendan Blake

Spanish Quesadillas

I had never made Spanish Quesadillas before, but how difficult could they be?

I love them enough to know what's in them, so without looking at a recipe, I had a go. Result: Excellent! Finely dice and pan-fry a red Spanish onion in olive oil, once browned add a finely diced chicken breast fillet (or not if you prefer a vegetarian option). In a separate bowl, mash a ripe avocado and dice a ripe red tomato. Once the onion and chicken have browned, add them to the avocado, tomato and a hand full of mozzarella or other melting type cheese.

Add coarsely cracked pepper and salt. Mix it all together. This is your filling. In large a dry flat skillet on low heat, gently warm a circular wrap bread for about ten seconds on each side. Remove from heat and fill half the circle of the bread with the filling about 2cms high.

Fold the other half of the bread over the filling so your Quesadilla is a semi-circle shape. Pan-fry the quesadilla in the same skillet on low heat, dry, (no oil) for about one minute.

Flip it carefully and dry fry the other side for about the same time. Cut and eat. Delicious!

Lamb Shanks and Vegetables

Tonight I made a Lamb Shanks and vegetable dish for a friend who has little time to cook for herself. I also make another pot of the CWA Italian Stew, but I want to offer the lamb shanks recipe tonight. You will need to use a pot with a lid that can be placed into the oven.

This meal uses the stovetop and the oven in the same pot. Preheat the oven to 200 degrees c. On the stove top, in a large pot, gently brown one onion sliced into rings in a tablespoon of olive oil. Add four lamb shanks and gently brown on both sides until they appear cooked externally.

Once the shanks are brown, into the same pot add three diced potatoes, three diced carrots, a sliced head of fennel, a sliced red capsicum, two sliced celery sticks, a handful of continental parsley, a teaspoon of Massel chicken stock, cracked pepper and marine salt. Then add about five cups of water.

Gently bring up the heat to a low boil. Simmer for five mins on the stove then place the pot into the oven for one hour. The result is as you see! The lamb shanks are so soft they crumble when you try to pick them up!

A slow cooker can be used for this dish after the meat has been browned. Enjoy!

Everybody loves Meatballs!

The large increase in mince meat purchases has prompted me to provide you my Meatballs recipe. This recipe comes in two parts. The sauce in which the raw meatballs are cooked must be prepared before the meatballs are prepared so they are ready to be cooked as they are rolled.

Sauce: brown an onion, sliced into rings. Once brown, add four cans of diced tomatoes and half a large jar of Leggo's Tomato Paste. Add a hand full of chopped Continental parsley, cracked pepper, a pinch of marine or Murray River Salt, a teaspoon of Massel chicken stock and the 'Secret ingredient' a quarter teaspoon of nutmeg and cinnamon (don't tell anyone). Mix it all together and bring it up to temperature whilst preparing the meat balls. Simmer once boiled.

Meatballs: mix a large packet of premium mince, a well diced onion, a hand full of Continental parsley, a cup of breadcrumbs, (I like the Anchor brand), two eggs, a cup of grated Grana Padano parmesan cheese, a sprinkle of cracked pepper, a pinch of marine or Murray River Salt, a teaspoon of Massel chicken stock and the quarter teaspoon of nutmeg and cinnamon. Once mixed, roll your balls into what ever size you choose.

Gently place them into the now simmering sauce. Do not stir the pot as they will break! If you need room in the pot, shake the pot so they all fit under the sauce. Let them cook for about 20 mins. They are ready to serve. They can be stored in the fridge for a few days.

This is a 'starter' recipe for the kids to get involved in cooking!

Melanzane Parmigiana (Eggplant and Parmesan Cheese)

Tonight I made my old favourite Sicilian meal. It can be vegan or vegetarian depending on your taste. As the nights grow colder this fabulous dish will warm your soul and your belly. It is so good it is hard to believe! I'm actually eating it as I type!

I saw the most magnificent perfect shiny black eggplants in the produce department today and I could not resist my temptation to cook them! They looked like black mirrors!

There are two parts: the sauce and the eggplant. If you treat it as a lasagna, the preparations in largely the same.

Preheat the oven to 150C. You will need a lasagna type oven dish for this to cook in the oven.

Sauce: in a large pot brown a large diced onion in olive oil. Then add three cans of chopped tomatoes, a handful of chopped Continental parsley, half a large jar of Leggo's tomato paste, cracked pepper, a cup of water, Murray River Pink Salt and of course a teaspoon of Massel powdered chicken stock. Bring to the boil and then turn down to the lowest setting to simmer.

Eggplant: peel four fresh eggplants and slice them into 5-6mm slices. Pan fry them until gently brown in hot olive oil and set aside. This process is quite time consuming and the eggplant will soak a lot of the oil, so the fry pan will need to be topped up regularly. Set the fried slices aside.

If you prepare your sauce first, it will be ready to use once the eggplant slices are ready.

Grate your Parmesan Cheese. You will need 3 cups (grated), which is about the size of the piece on the photo (about 200 gms)

Layer your sauce and eggplant pieces in the oven dish, sprinkling each layer with cheese before moving onto the next. Once the layers a complete, pour over any remaining tomato sauce and cheese. Cover the top with the grated Parmesan you have left over.

Cover with foil and bake for 1 hour. Enjoy! (it's hot).

Meat Pies

Tonight I made 12 meat pies. No frills, just home made meat pies. Suggest this would be a great starter recipe for the kids to start their love for cooking!

Preheat your oven to 225C

Brown a large diced onion (or two small onions) in olive oil. Add your diced Gravy Beef and start to brown. Add your premium mince meat, cracked pepper, Murray River Pink Salt, a teaspoon of powdered Massel chicken stock and a handful of chopped Continental parsley. Let it cook, stirring regularly. Add a cup of water. Let it all cook for about 30 mins as the liquid boils off. We want the liquid to boil off. Add 200ml of Beerenberg Worcestershire sauce (from the German Village of Hahndorf in the Adelaide Hills) and the same amount of tomato sauce. These two ingredients really flavour the meat so the drier the meat when these two sauces are added, the more they will absorb.

Two types of pastry are required. Shortcrust pastry for the base and puff pastry for the lid. Thawed Pampas Pastry sheets have been my pastry sheets of choice for years. I highly recommend them. They will thaw on the bench top in minutes. Quarter cut each sheet to provide four smaller squares per sheet. Lay the Shortcrust pastry on your pie tin. Add the meat pie filling. Add it hot. The pie filling will cause the pastry to sink into the tray and provide the perfect pie dish shape. Make sure every pie gets a mix of mince and gravy beef. Good chunky meat pies are best!

Once filled, lay your puff pastry on top and gently break away the edges to leave what appears to be an uncooked pie! Prick the top with a fork to allow the heat to flow. Crack and beat and egg and brush the tops of the pies with the beaten egg. Add cracked pepper if you choose. I put cracked pepper on four only.

Place into the oven for about 20 mins or until the pastry is golden and shiny. Allow to cool before removing the pies from your pie dish.

These pies do not need tomato sauce because they are so good as they are, but you may be forgiven if you cover them with tomato sauce!

Spicy Apple Dessert

Puff pastry is finally being stocked again the stores. Both Pampas and Borgs puff pastry are excellent choices for this dessert, but you can always make your own...

Winter is here tonight, so it is an appropriate time to offer my Spicy Apple Dessert recipe, a relatively simple pastry dish I have been making for about five years with extraordinary success!

The recipe below is in three parts. I recently made three different desserts, one with apple, one with apple using honey as an alternative to brown sugar and the final one was just a punnet of blueberries! The methods is the same, the ingredients vary.

Preheat the oven to 225c. Thaw three sheets of puff pastry on the bench. Peel, core and dice two Granny Smith apples per pasty sheet.

Regular Apple: in a mixing bowl, toss your diced apple, 50 gms of brown sugar, a teaspoon of plain flour, a tspn of ground cinnamon and two tspns of 'Mixed Spice'. Toss it all together until each piece of apple is coated and dry (add a handful of sultanas if you want a really great dessert!). Pour the dried mixture onto a thawed sheet of puff pastry.

Apple with Honey: in a mixing bowl, toss your diced apple, a tspn plain flour, two tspns of Mixed Spice. Toss until coated and dry. Pour the mixture onto a puff pastry sheet and add the honey at this stage. Maybe a couple of tablespoons is a good amount.

Blueberry: simply wash your blueberries and place them onto the pastry sheet. Sprinkle 50 gms of brown sugar on top.

Wrap the pastry sheet over the fruit mixture and seal each end. Turn the envelope over so the seal is on the bottom. Place the envelopes onto a sheet of baking paper on a baking tray. Evenly slice the pastry in with a knife to allow heat to transfer and a texture to form. Coat the envelopes with a beaten egg.

Bake for about 25 mins or until dark golden brown. Let them cook! A little burnt edge here and there is a good sign that your pastries are ready.

Sprinkle with icing sugar (if you choose) and serve with lashings of whipped cream, whipped with with four or five drops of Vanilla Essence.

Enjoy!

Magnificent Poached Pears

I think you all like desserts as much as the main meal! So I made a special dessert tonight. It is a rich gourmet delight that is guaranteed to send praise your way by all who indulge!

It is very simple and inexpensive to make. Who knew that blending and preparing foods can create the most wonderful flavours.

Peel and core five ripe (but firm) green pears. Be sure to leave the stalk on top and coring is done with two simple scoops using a melon baller into the base of the pear. It removes all the seeds and leaves a whole solid pear.

Place all five peeled and cored pears into a deep pot, pour in any cheap red wine (or expensive if you don't want to drink it), 100 gms of brown sugar, two vanilla beans, split lengthways to release the essence, two whole cinnamon sticks and about six star anise pods.

Bring to the boil and then simmer on low heat, covered, for about an hour. Turn the pears gently using a large cooking spoon so all the pear soaks the wine juice. Let them cook. They will progressively become a dark burgundy colour. Let them cook and soften. They will become quite delicate and they will score or damage easily, so turn them gently.

The alcohol in the wine will completely evaporate at relatively low heat, so children can enjoy these too.

Serve them warm. Be sure to provide your guests with a pear, a large pond of red wine juice and a sampling of the remaining spices.

There is no limit to the amount of whipped cream you are allowed to add. A couple of drops of vanilla essence will make the cream blend so well.

The best way to handle these poached pears is not to serve them to your family and friends. Instead put them in the refrigerator so you can warm them and enjoy them each night without any one else knowing they are there.

They are too good to share!

Slow Roasted Lamb Shoulder

I just love this dish. The lamb shoulder meat is so tender and moist. It requires two sets of hands to remove if from the cooking rack as it breaks apart once it is moved!

This is a very simple meal to cook. It requires a little time, 4.5 hours in fact. You will need a deepish baking dish with a wire tray. The wire tray is essential as it allows the fat to drip off the meat and separate from it as opposed to pan frying the meat for an extended time. The wire rack helps lean the meat.

Preheat your oven to 250c. Take your should and rub it all over with olive oil, Murray River pink salt and freshly ground pepper. Place it on the wire rack in the tray.

Wrap the tray completely with aluminium foil. We are looking for an airtight wrap. Several layers may be required. The shoulder will cook in this enclosed area.

When the oven reaches 250c, place your wrapped shoulder in and close the door. Now turn the oven temperature down to 160c and leave for 4.5 hours. If you want to present this meal at 6.30pm your shoulder needs to be in the oven at 2.00pm in the early afternoon. Remember, cook it low and slow.

If you choose to brown the top, which I do not, once the 4.5 hours has endured, remove the foil and place the tray back into the oven for another 10 mins.

The two shoulder bones will slide out clean!

I served this shoulder tonight with hand sliced, stove top fried sweet potato chips in olive oil. I also served dressed baby cos lettuce.

Now a word about baby cos lettuce. It is so fresh and mildly bitter. No other salad vegetables need join it. Keep the other vegetables in a separate salad section! The baby cos lettuce was dressed with olive oil and Murray River pink salt. The secret to the salad is in the tossing. Every leaf must be coated in the dressing. I tossed this lettuce tonight for about one minute. The result: nothing left!

Remember, low and slow.

Please enjoy this meal. This recipe is a keeper.